
Choose between same-day and traditional options
Picking between same-day and traditional dentures balances your budget against your timeline. Same-day options get you teeth quickly with lower upfront costs but require a break-in period as your gums heal. Traditional dentures take longer to fabricate but offer a more precise, comfortable fit once ready.
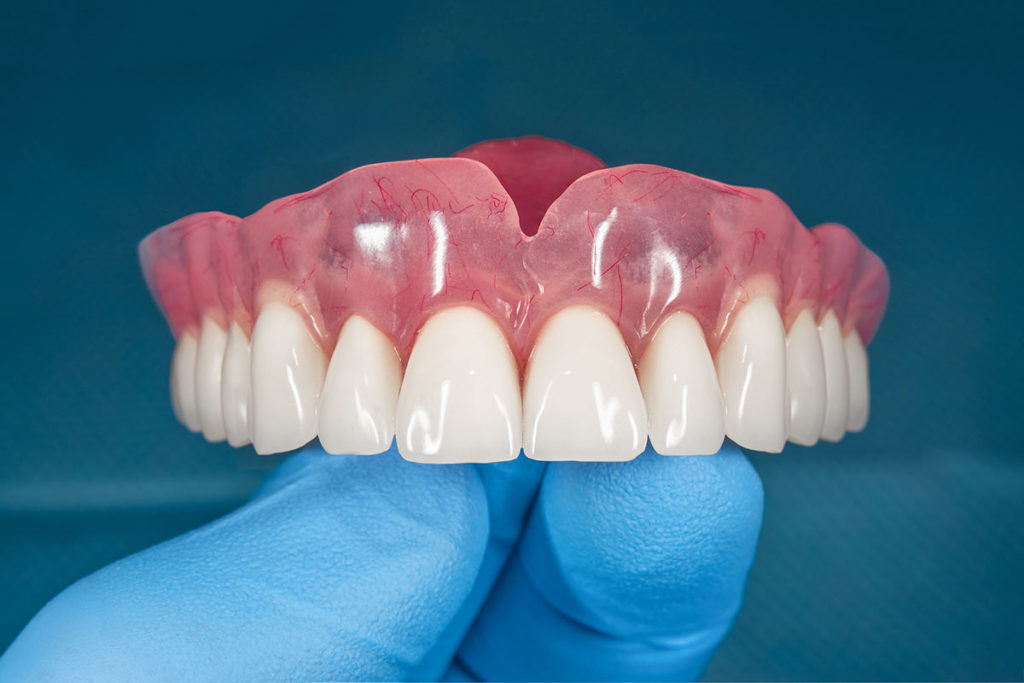
Same-Day Dentures
Same-day dentures, or immediate dentures, are placed right after extraction. This avoids being toothless during healing. The primary advantages are speed and lower initial cost, with economy packages often starting around $775 and monthly plans as low as $32.
However, these are temporary. As your jawbone and gums shrink during the first six months, the fit loosens. You will likely need relining or a new permanent set later. They suit those prioritizing immediate aesthetics and affordability over long-term comfort.
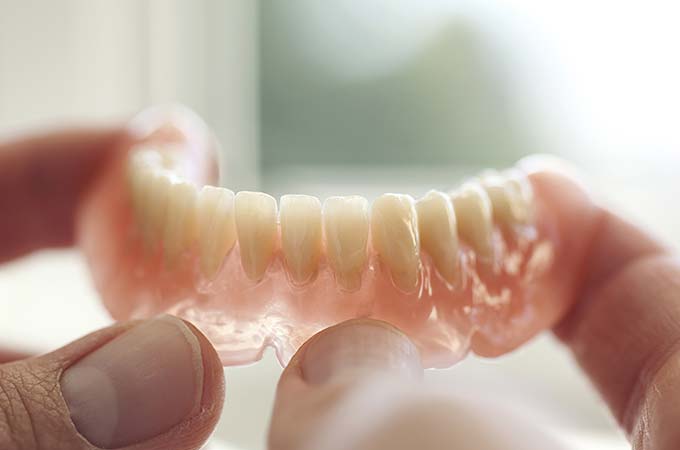
Traditional Dentures
Traditional dentures are custom-made after your mouth heals, typically taking three to six months. This waiting period allows gums to settle and bone to stabilize, resulting in a natural fit. While the upfront cost is higher and the timeline longer, the result is often more durable.
This route avoids multiple adjustments as your mouth changes shape. For many patients, the extra time and investment pay off in better chewing efficiency and speech clarity.
Comparison: Same-Day vs. Traditional
| Feature | Same-Day | Traditional |
|---|---|---|
| Timeline | Immediate | 3-6 months |
| Initial Cost | Lower ($775+) | Higher |
| Fit Quality | Temporary (needs relining) | Precise & Permanent |
| Best For | Budget & Speed | Comfort & Durability |
Prepare for your North Charleston denture appointment
Getting affordable dentures in North Charleston is faster when you arrive prepared. Most same-day clinics run on tight schedules, so treating your visit like a structured appointment helps you leave with a new smile the same day.

Collect your driver's license, insurance card, and any recent dental X-rays. If you have a referral from a general dentist, bring that letter too. Having these ready prevents delays when you check in.
Brush and floss thoroughly before arriving. If you currently wear dentures, remove them and clean them separately. Clean natural teeth provide a better surface for the dentist to take accurate impressions.
Set aside 1-3 hours for your visit. The process involves impressions, bite registration, and trying on the new set. Avoid scheduling other appointments immediately after, as you may need time to adjust to the new fit.
-
Government-issued photo ID
-
Insurance card or payment method
-
Recent dental X-rays or records
-
List of current medications
-
Current dentures (if applicable) to remove
What to wear and bring
Wear comfortable clothing, as you will sit in a dental chair for an extended period. Bring sunglasses if you are sensitive to bright clinic lights. Write down any specific concerns about your smile to mention during the consultation.
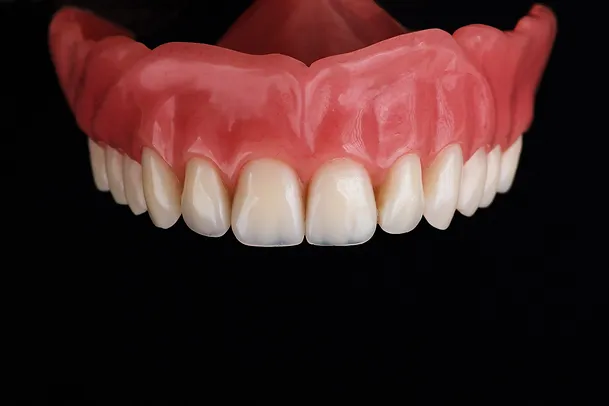
Fit your new dentures during the initial visit
The fitting process follows a clear sequence: define constraints, compare options, and choose the path with the fewest hidden costs. This order keeps the advice practical.
Name the space, budget, timing, or skill limit that shapes the Affordable Dentures in North Charleston decision.
Use the same criteria for each option so the tradeoff is visible.
Pick the option that still works after cost, maintenance, and fallback needs are included.
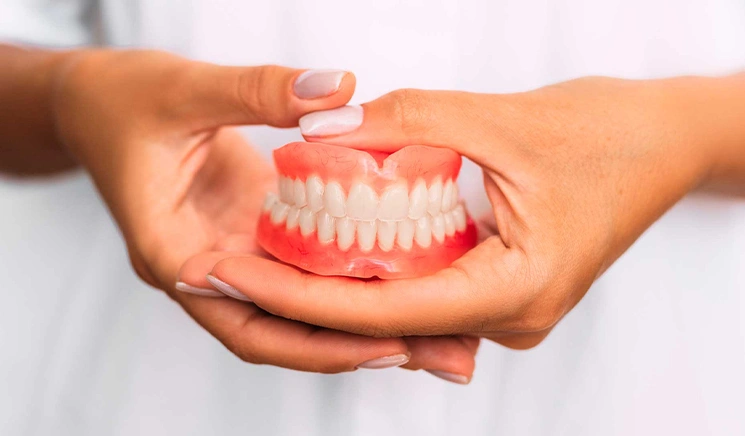
Daily care and cleaning
Caring for your Affordable Dentures protects your investment. Dentures accumulate plaque, food particles, and bacteria. Without consistent cleaning, these deposits lead to bad breath, gum irritation, and staining.
Remove your dentures after every meal. Rinse them under lukewarm water to wash away loose debris. Avoid hot water, which can warp the acrylic base, and never use regular toothpaste, as its abrasives scratch the surface, creating hiding spots for bacteria. Instead, use a soft-bristled denture brush and a non-abrasive cleaner. Gently scrub all surfaces, including the gums-side, to remove plaque without damaging the fit.
Soaking and overnight care
Your gums need time to rest from the pressure of wearing dentures. Remove them before bed and place them in a soaking solution. This keeps them moist, preventing shape loss, and disinfects them. Always store them in a container filled with water or a mild cleaning solution—never wrap them in a dry tissue or leave them on a counter where they could be dropped.
Recommended tools and products
Using the right tools makes daily routine faster and more effective. You don't need expensive equipment; a few basic items keep your Affordable Dentures in top condition.
![Efferdent Retainer Cleaning Tablets, Denture Cleanser Tablets for Dental Appliances, Complete Clean, 102 Tablets [Amazon-developed Certification] Compact by Design](https://m.media-amazon.com/images/I/715xlJKo9xL._AC_UL960_QL65_.jpg)


As an Amazon Associate, we may earn from qualifying purchases.
Cleaning checklist
Follow this simple checklist every day to maintain oral health and extend denture life:
- Remove and rinse dentures after every meal.
- Brush gently with a denture brush and non-abrasive cleaner.
- Soak overnight in a proper solution to maintain shape.
- Clean your mouth and gums with a soft toothbrush before reinserting dentures.
- Visit your dentist regularly for check-ups and professional cleaning.
Fix minor breaks with a denture repair kit
A denture repair kit offers a temporary fix for small chips or cracks, helping you maintain your Affordable Dentures until you can visit a professional. These kits are for cosmetic emergencies, such as a loose tooth or hairline fracture. They are not a substitute for professional welding or rebasing.
Assess the damage
Inspect the break before opening any kit. If the denture is snapped in two or the bite is misaligned, a DIY kit will not hold. These kits work best for minor surface chips or small cracks that do not affect how the teeth meet. If the break compromises the fit or causes pain, skip the kit and call your dentist. Using a repair kit on a major break can make the final professional repair more difficult and expensive.
Prepare the surface
Clean the denture thoroughly with soap and water to remove plaque and debris. Dry the area completely; moisture prevents the adhesive from bonding correctly. Lightly roughen the broken edges with the included emery board or fine sandpaper. This creates a texture for the glue to grip. Avoid touching the roughened areas with your fingers to keep oils off the surface.
Apply the adhesive
Mix the powder and liquid according to kit instructions to create a paste. Apply a thin layer to both broken surfaces. Press the pieces together firmly and hold for the specified time. Wipe away any excess adhesive immediately with a damp cloth. Allow the repair to cure fully, usually for 24 hours, before handling or wearing the denture.
Finish and test
Once the adhesive has cured, gently polish the repair area with a soft brush and non-abrasive toothpaste to smooth rough edges. Rinse the denture thoroughly. Test the fit by biting down gently; if the bite feels uneven or the denture shifts, the repair has altered the alignment. Do not force it. Visit your dentist for professional adjustment to prevent gum irritation or further damage.
No comments yet. Be the first to share your thoughts!