
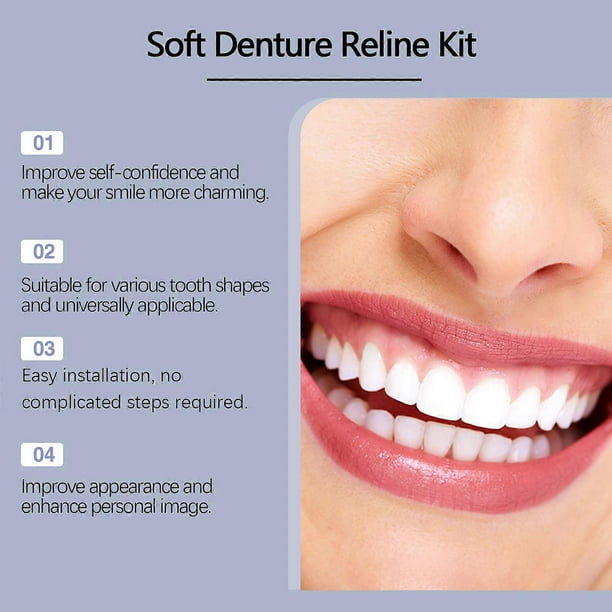
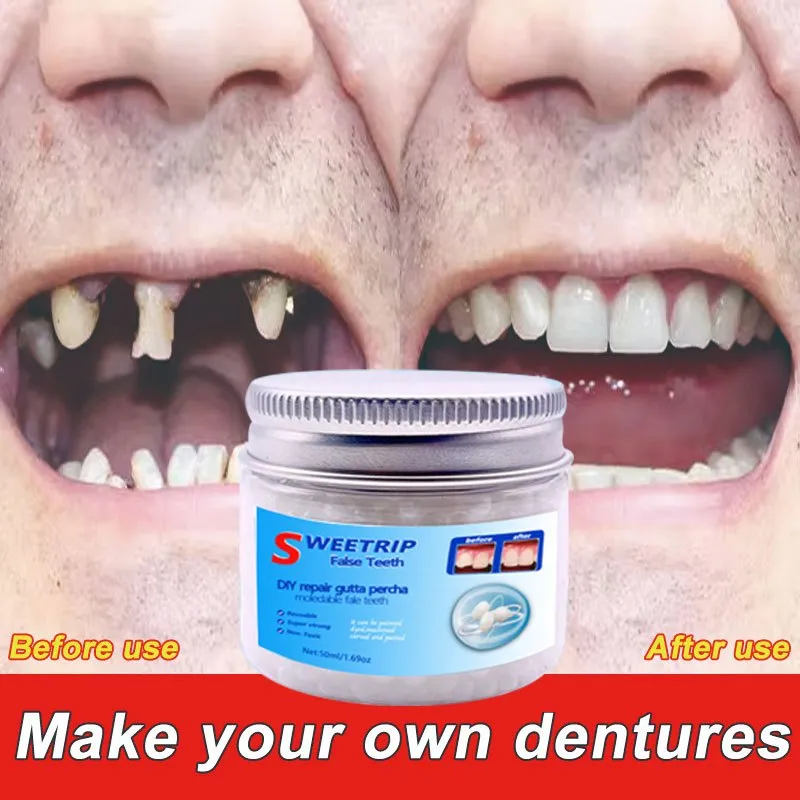
Choose the right repair kit
Selecting the right denture repair kit is the first step toward a safe, effective fix. The most important rule is to use only dental-grade acrylic resin. Household adhesives like superglue or epoxy are never safe for oral use; they contain toxic chemicals that can irritate gums or permanently damage the denture material. Dental resin is designed to bond securely to the specific polymers used in dentures and is safe for temporary intraoral use.
When shopping, look for kits that include all necessary components: resin beads or powder/liquid, a mixing applicator, and sometimes a moldable putty for missing teeth. Popular options like the Dentemp Repair-It kit are widely available at pharmacies and online, offering everything needed to mend cracks or reattach loose teeth in minutes.
| Feature | Dental-Grade Resin | Household Glue (e.g., Super Glue) | Epoxy |
|---|---|---|---|
| Safety for Oral Use | Safe for temporary use | Toxic and unsafe | Toxic and unsafe |
| Bond Strength on Acrylic | Strong, flexible bond | Brittle, may not stick well | Strong but rigid and unsafe |
| Ease of Use | Mix and apply with included tools | Fast setting but messy | Requires precise mixing |
| Availability | Pharmacies, online retailers | Hardware stores, general retail | Hardware stores, online retailers |


As an Amazon Associate, we may earn from qualifying purchases.
Before applying any repair, ensure the denture is clean and dry. A quick checklist before you start:
- Clean the broken edges with mild soap and water.
- Dry the area thoroughly; moisture prevents resin from bonding.
- Test fit the pieces before mixing the resin.
- Work in a well-ventilated area to avoid inhaling fumes.
Once you have the right kit and prepped the denture, you are ready to proceed with the actual repair process.
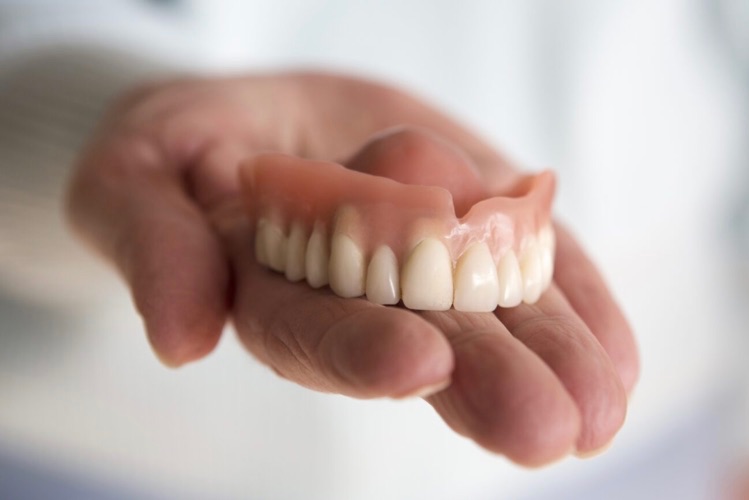
Prepare the broken denture
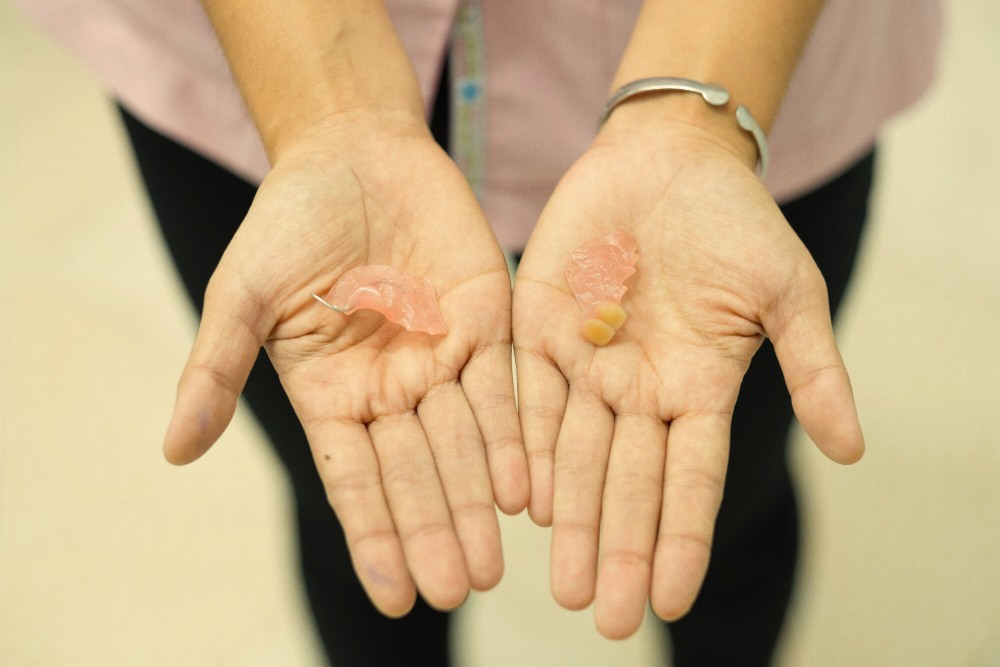
Start with a clear boundary: what is actually broken, and what still works normally. Check the fracture line carefully. If the break is clean and the pieces fit together perfectly, a DIY kit is viable. If the pieces are missing, shattered, or involve metal clasps, skip the kit and see a dentist.
Work from low-risk checks to deeper repairs. Confirm the denture is clean and dry first. Then test fit the broken pieces without adhesive to ensure they align correctly. Avoid changing multiple variables at once; if the fit is wrong, the repair will fail regardless of the resin quality.
If the issue affects safety information, repeats after every restart, or appears with warning messages, treat the reset as a temporary diagnostic step rather than the final fix. Document the symptom and move to official support instead of stacking more DIY attempts.
-
Inspect the breakPut the system in a safe idle state, then write down whether Use Denture Kits for Quick Fixes is frozen, blank, slow, disconnected, or only failing in one app.
-
Try the normal restart firstUse the standard screen or interface restart before changing settings, deleting profiles, or disconnecting accessories.
-
Retest one feature at a timeCheck touch response, audio, navigation, phone pairing, Wi-Fi, and app access separately so the failing path is clear.
-
Escalate repeated failuresContact official support when the screen stays black, warnings appear, or the same issue returns after a clean restart.
Mix and apply the resin
Getting the consistency right is the difference between a repair that holds and one that fails. Most kits use a two-part acrylic system: a liquid monomer and a powder polymer. You are essentially creating a temporary dough that hardens into a solid bridge across the crack.
Work in a well-ventilated area. The monomer fumes are strong and can cause headaches if you breathe them in directly. Lay down newspaper or a paper towel to protect your workspace, as spilled resin is nearly impossible to remove from fabric or finished wood.
1. Measure the components
Accuracy matters more than speed. Most instructions call for a specific ratio, often one part liquid to two parts powder by volume, but always check your specific kit’s instructions. Use the small measuring spoon or dropper provided. Pour the liquid into your mixing surface first, then add the powder. Adding powder to liquid helps prevent dry pockets from forming.
2. Mix until dough-like
Stir the mixture gently with a wooden stick or the provided spatula. The goal is a uniform color with no streaks of white powder or clear liquid. You are looking for a consistency similar to thick cookie dough or putty.
If it is too wet, add a pinch more powder. If it is too crumbly, add a drop of liquid. Working with a "dough" texture ensures the material will press into the fracture line rather than sliding off. Avoid over-mixing, which can introduce air bubbles that weaken the final bond.
3. Apply to the fracture line
Once your resin is at the right consistency, it begins to set. You have a limited window—usually 3 to 5 minutes—before it hardens completely. Press the resin firmly into the broken area. Use your finger (covered in a bit of petroleum jelly or the kit’s release agent) or a tool to push the material deep into the crack.
The pressure is critical. You need to squeeze out any trapped air. If you see bubbles, press harder or add a tiny bit more resin to fill the void. Smooth the surface so it blends with the surrounding denture material. Don't worry about perfection yet; you can trim excess later.
Lay down protective covering and ensure good ventilation. Gather your measuring tools and the denture repair kit components before opening the monomer bottle.
Follow the kit’s ratio instructions precisely. Pour the liquid monomer first, then add the acrylic powder. This order helps prevent dry clumps.
Stir gently until the color is uniform. The mixture should feel like thick putty or cookie dough. If it’s too dry, add a drop of liquid; if too wet, add a pinch of powder.
Work quickly. Press the resin firmly into the crack to expel air bubbles. Ensure the material fills the entire gap between the broken pieces.
Smooth the excess resin to match the denture’s contour. Hold the pieces together firmly for the recommended time (usually 5-10 minutes) while the resin cures.
Trim and finish
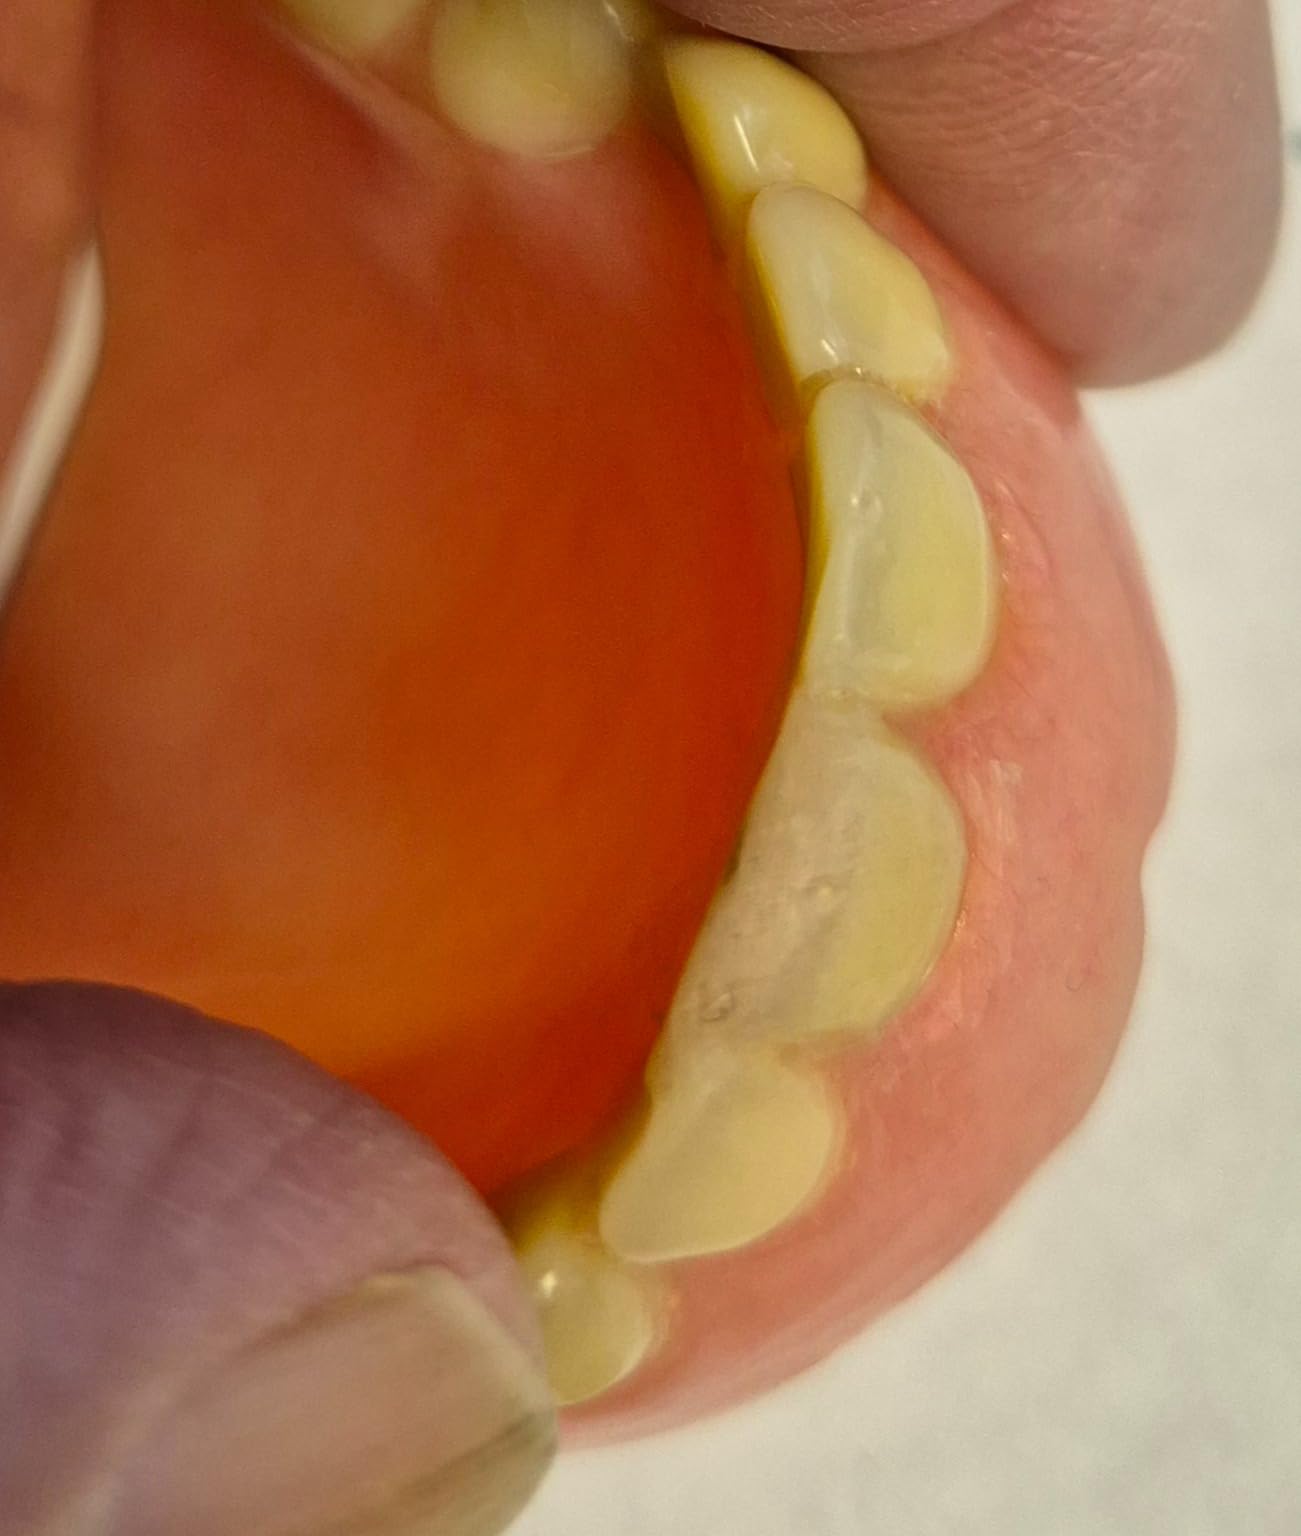
Once the resin has fully hardened (check your kit’s cure time, typically 15-30 minutes for handling strength), remove any excess material. Use a nail file, emery board, or fine-grit sandpaper to smooth the repair.
Start with a coarse grit to remove bulk excess, then move to a finer grit to blend the repair with the rest of the denture. Rinse the denture thoroughly under warm water. Do not use hot water, as it can warp the acrylic base. Your quick fix is now ready, though it remains a temporary solution until you can see a dentist for a professional repair.
Cure and finish the repair
Once you have applied the acrylic resin to your broken denture, the clock starts ticking. Most denture repair kits require a specific curing time, typically between 10 and 20 minutes, though you should always check the manufacturer's instructions on your specific kit. Rushing this step is the most common mistake; if the resin hasn't fully hardened, the bond will be weak and the repair will fail almost immediately. Place the denture on a clean, flat surface and leave it undisturbed until the material is solid.
After the initial cure, it is time to remove any excess material. Even with careful application, some resin will squeeze out or form a rough layer over the repair site. Use a small nail file, an emery board, or a fine-grit sandpaper block to gently smooth these bumps. Work slowly and check the fit frequently to ensure you are not removing too much of the surrounding denture base. The goal is to make the repair blend seamlessly with the rest of the tooth and gum surface.
The final step is polishing. A rough denture surface can irritate your gums and harbor bacteria. Use the polishing compound or extra-fine sandpaper provided in your kit to buff the repaired area until it feels smooth to the touch. Rinse the denture thoroughly with cool water before placing it back in your mouth. Remember that this is a temporary fix; if the break is large or affects the fit, see your dentist for a professional repair to ensure long-term safety and comfort.
When to see a professional
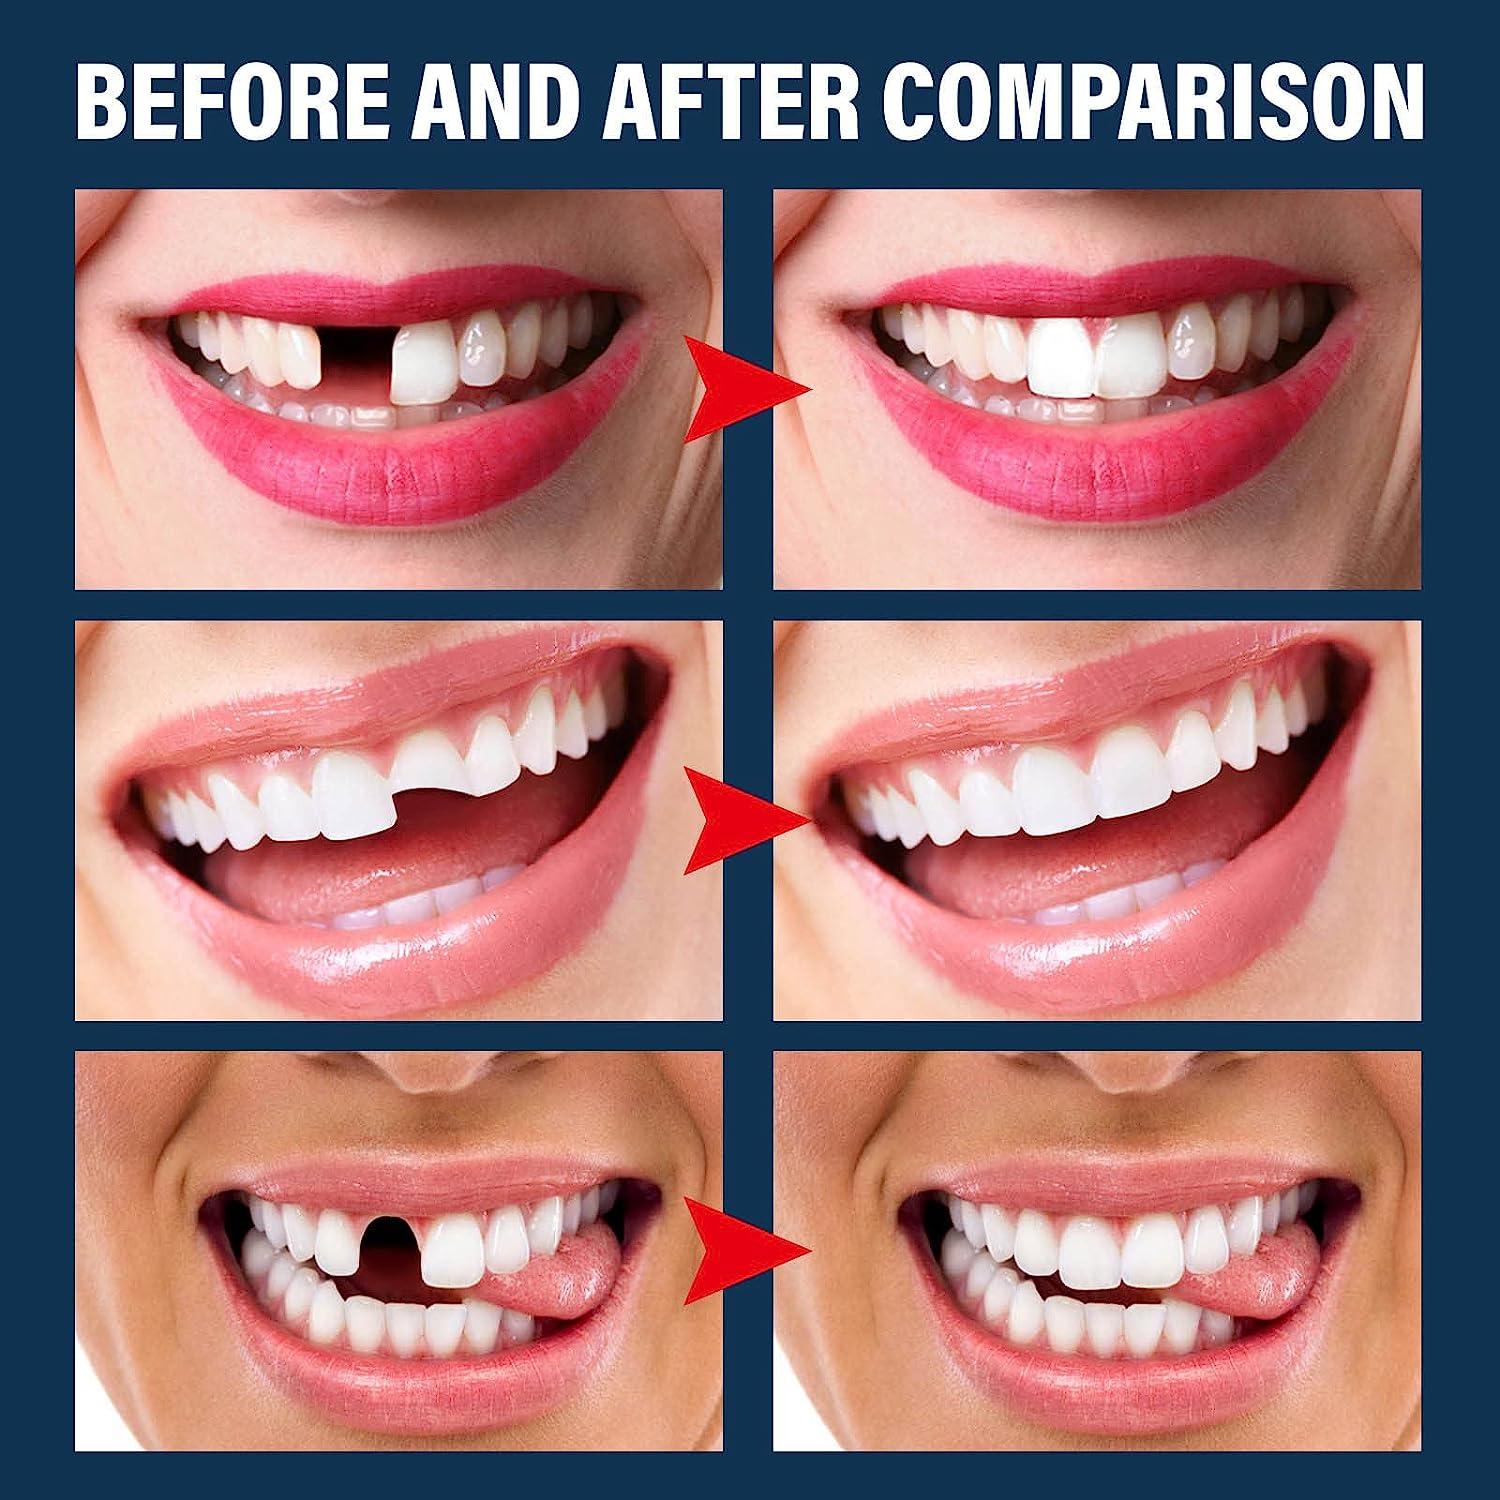
Denture repair kits are designed for temporary, emergency fixes. They can hold a broken piece in place long enough for you to reach a dentist, but they do not restore the structural integrity of the appliance. Relying on a kit for a permanent fix often leads to further damage, misalignment, or a poor fit that irritates your gums.
You should skip the kit and call your North Charleston dentist immediately if the break involves the metal framework or clasps. Household kits cannot bond metal to acrylic, and attempting to force a repair will likely snap the clasp entirely. Similarly, if a tooth is missing entirely or the base has cracked into multiple pieces, DIY methods will not provide a secure fit. A professional repair ensures the bite remains balanced and prevents long-term jaw issues.
Denture repair kit FAQ
Here are the most common questions about using a denture repair kit for quick fixes.
What glue can I use to fix broken dentures?
Do not use household superglue or cyanoacrylate. These glues contain chemicals that are toxic and can irritate your gums. The only safe adhesive for this purpose is dental-grade acrylic resin, which is specifically formulated in professional denture repair kits to bond safely with denture material.
How long will a DIY repair last?
A home repair kit provides a temporary fix, typically lasting a few days to a couple of weeks. It is designed to bridge the gap until you can see a dentist. The bond is not as strong as professional lab repairs, so you must handle the denture with care to avoid breaking it again.
Can I fix all types of denture cracks?
You can use a repair kit for simple cracks or breaks in the acrylic base. However, you cannot fix broken metal clasps, loose teeth, or major structural fractures. These issues require professional adjustment and welding that home kits cannot address.
No comments yet. Be the first to share your thoughts!